Table of Contents
1. Partition Hard Drive using GParted
2. Ubuntu Installation
3. Ubuntu Configuration
4. VirtualBox
5. Quickemu
6. Desktop Environments (DEs)
7. Linux Links
Linux Desktop Environments (DEs)
Ubuntu Flavors
The easiest way to use a new DE is to install an Ubuntu Flavor that uses a
particular DE. Alternatively, you can load Debian or Ubuntu, and add the DE
separately. You can install an OS using VirtualBox or Qemu.
Table 1: Ubuntu Flavors & Matching DEs
| # | Flavors | ver | DE | Comment | Web |
|---|---|---|---|---|---|
| Budgie | 24.04 | Budgie | https://ubuntubudgie.org | ||
| Cinnamon | 24.04 | Cinnamon | https://ubuntucinnamon.org | ||
| Edubuntu | 24.04 | Gnome | https://www.edubuntu.org | ||
| Kubuntu | 24.04 | KDE Plasma | https://kubuntu.org | ||
| Kylin | 24.04 | Kylin | Chinese | https://www.ubuntukylin.com | |
| ► | Lubuntu | 24.04 | LXQt | https://lubuntu.me | |
| MATE | 24.04 | MATE | https://ubuntu-mate.org | ||
| ► | PopOS | 22.04 | Gnome | Laptop: System76 | https://pop.system76.com |
| Studio | 24.04 | KDE Plasma | https://ubuntustudio.org | ||
| Ubuntu | 24.04 | Gnome | https://ubuntu.com | ||
| Unity | 24.04 | Unity | https://ubuntuunity.org | ||
| ► | Xubuntu | 24.04 | Xfce | https://xubuntu.org |
Table 2: DE Comparison
| DE | WM | File mgr | Terminal | Launch | Theme |
|---|---|---|---|---|---|
| Budgie | Mutter | Nemo | tilix | Docker | Pocillo-dark (gtk2,3) |
| Cinnamon | Mutter (Muffin) | Nemo | Gnome-terminal | Start | Yaru-cinnamon-dark (gtk2,3) |
| Gnome | Mutter | Nemo | Gnome-terminal | Docker | Yaru (gtk2,3) |
| Gnome (PopOS) | Mutter | Thunar | Gnome-terminal | Docker | Pop (gtk2,3) |
| KDE Plasma | KWin | Dolphin | Konsole | Start | Kubuntu |
| LXDE | Openbox | PCManFM | xterm | Start | Lubuntu-default |
| LXQt | Openbox | PCManFM | QTerminal | Start | Arc-Darker (gtk3) |
| MATE | Metacity (Marco) | Caja | Mate-terminal | Start | Yaru-MATE-light (gtk2,3) |
| Unity | Compiz | Nemo | Gnome-terminal | Docker | Yaru-dark (gtk2,3) |
| Xfce | Xfwm4 | Thunar | xfce4-terminal | Start | Greybird (gtk2,3) |
Screenshots
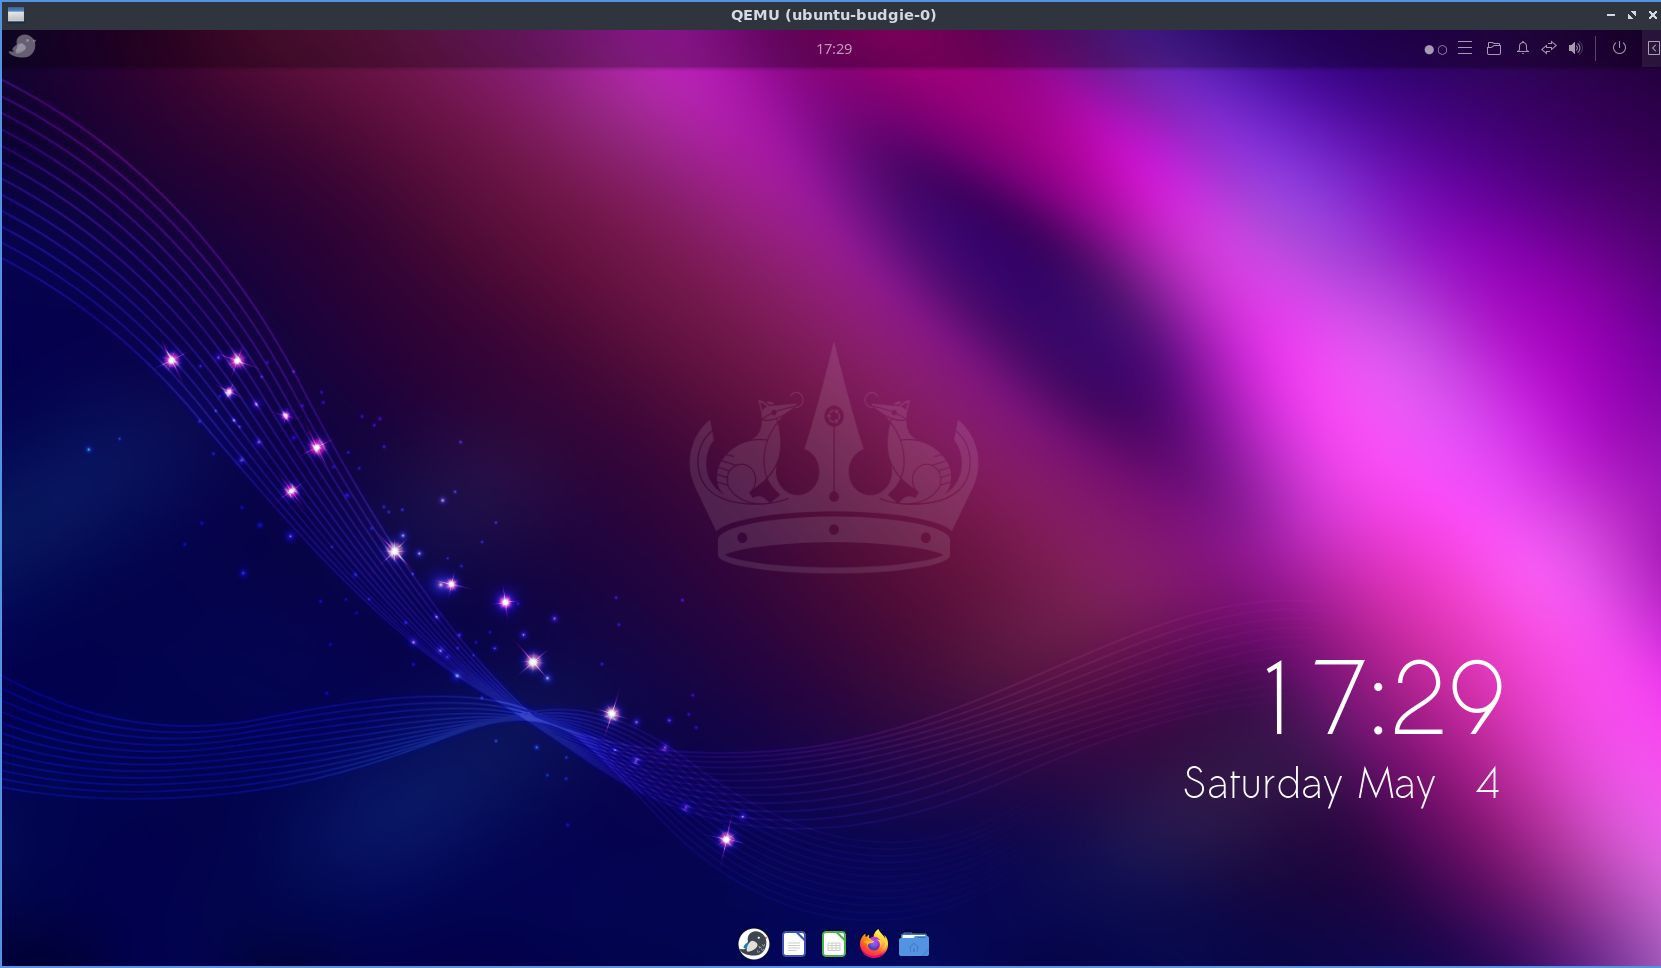 Ubuntu Budgie |
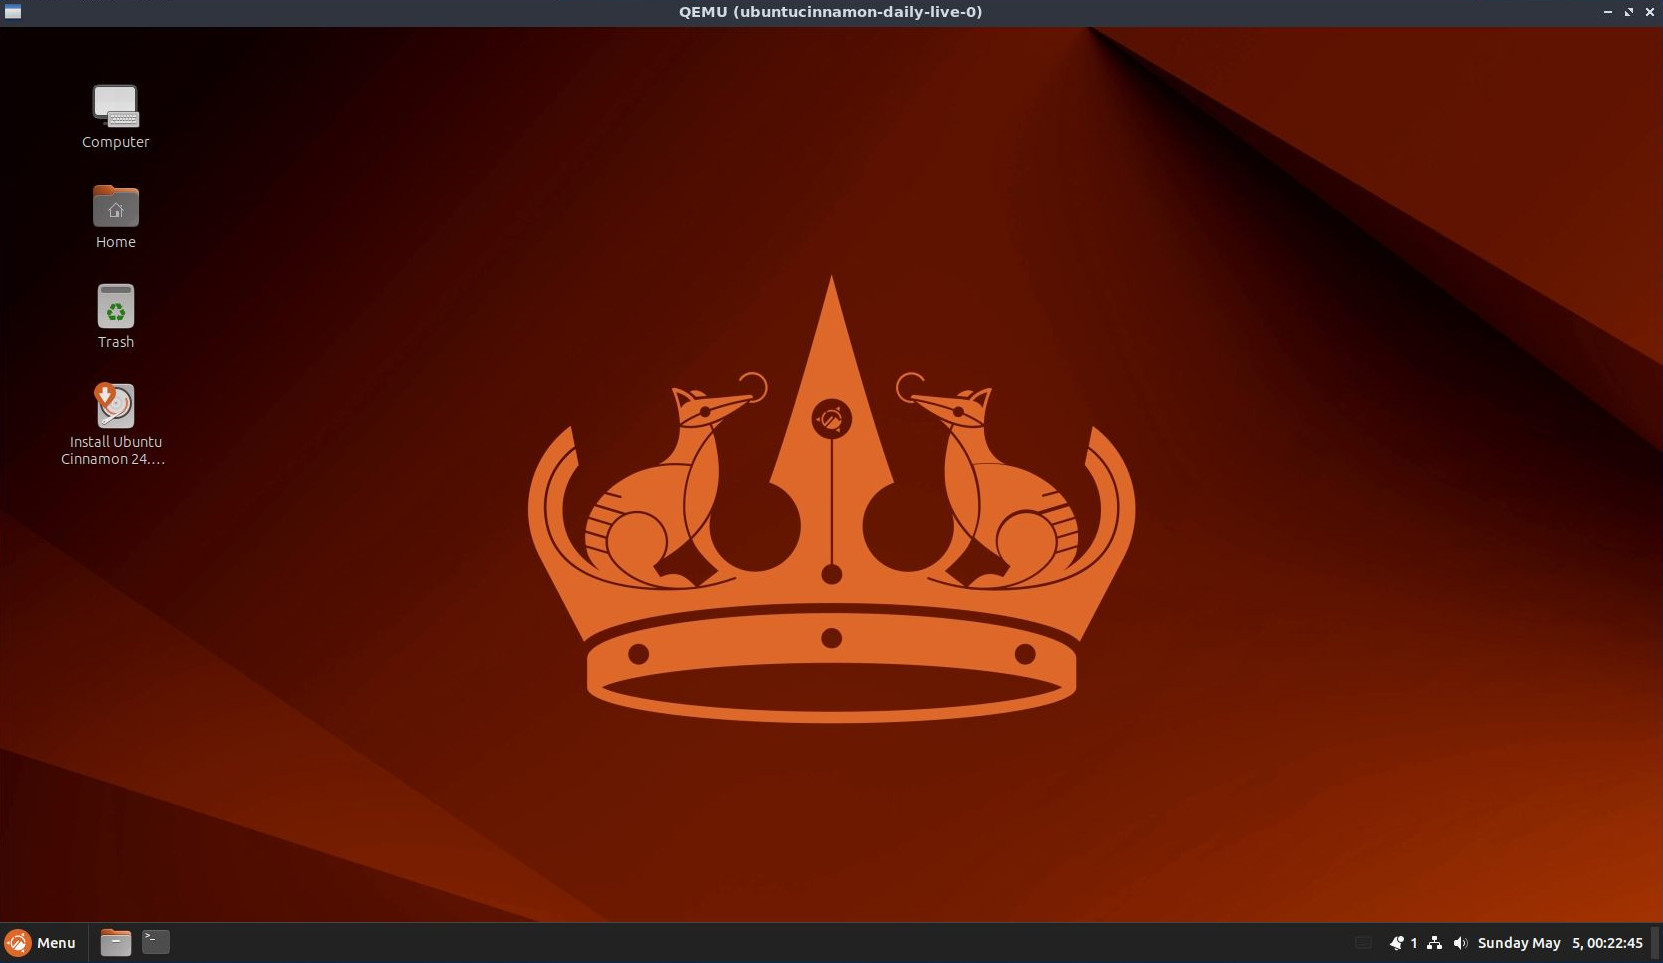 Ubuntu Cinnamon |
 Ubuntu Edubuntu (Gnome) |
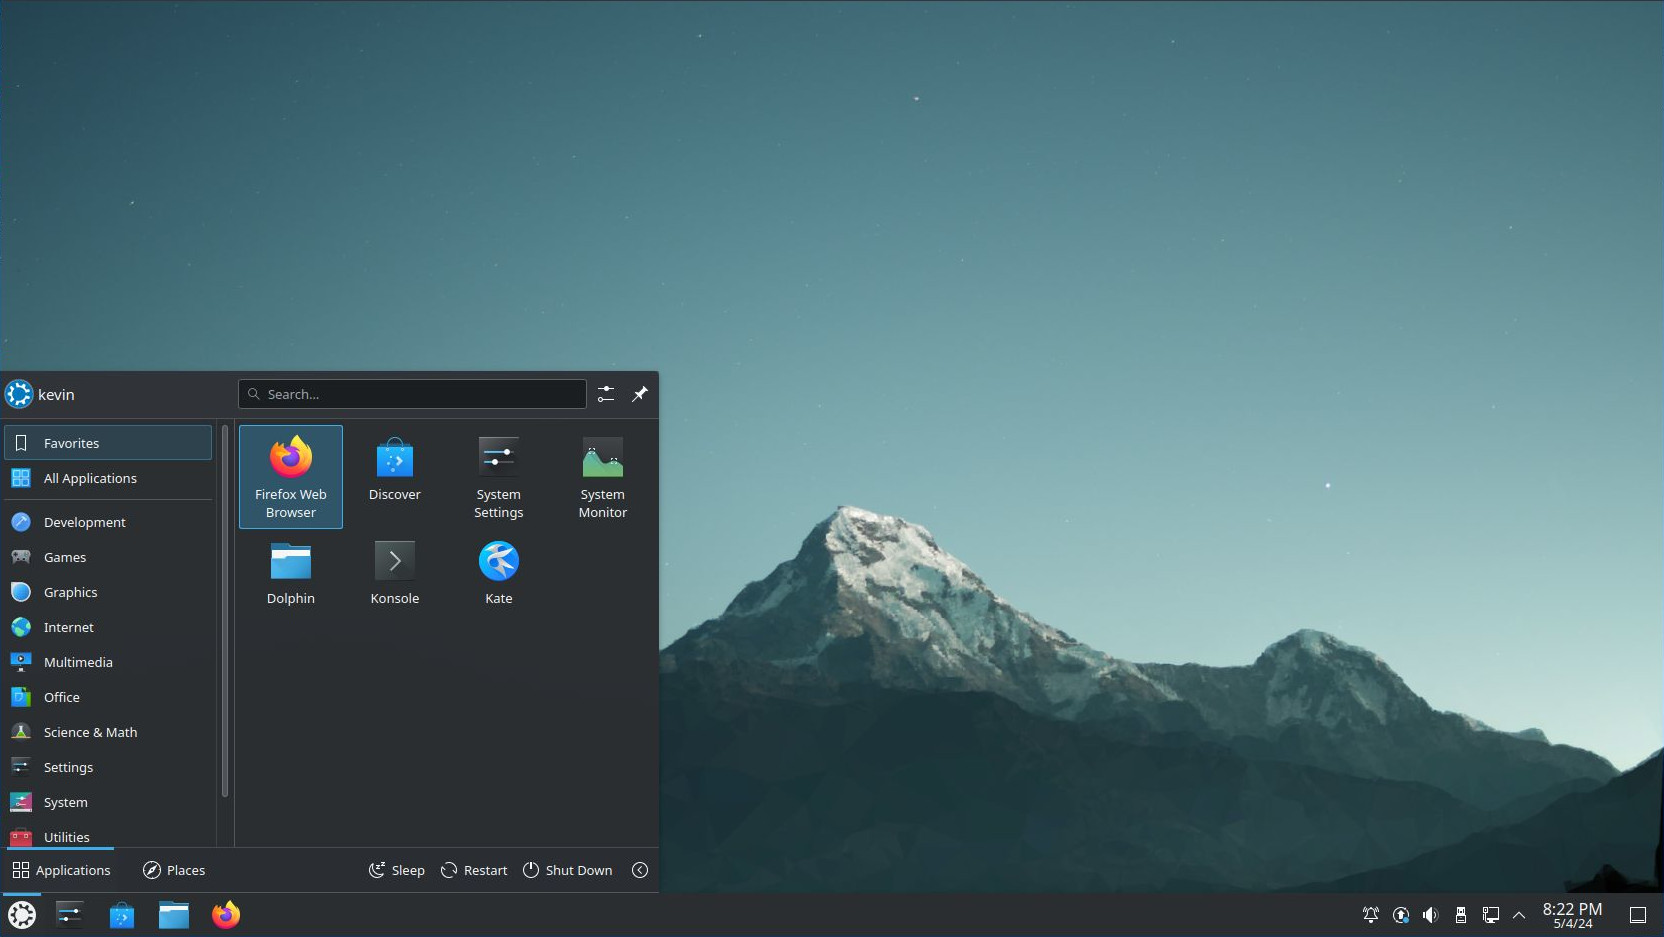 Ubuntu Kubuntu (KDE Plasma) |
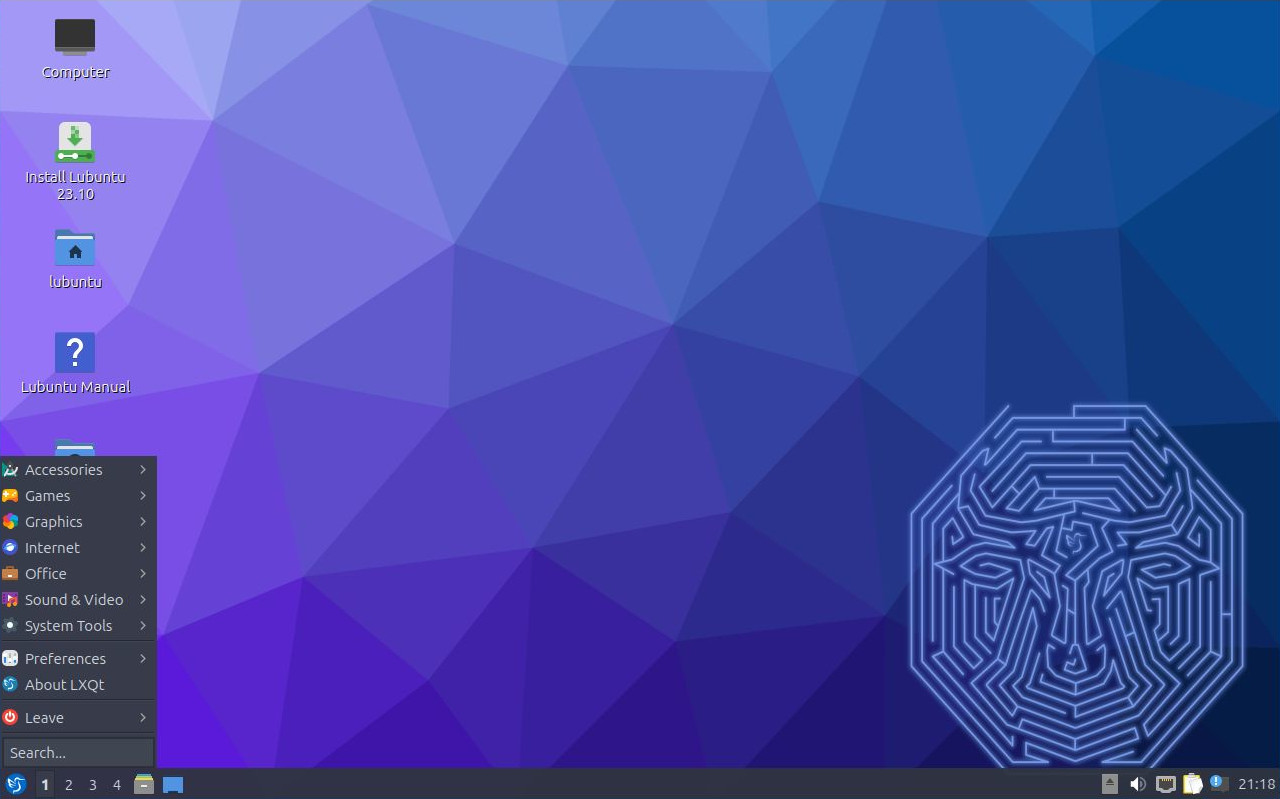 Ubuntu Lubuntu (LXQt) |
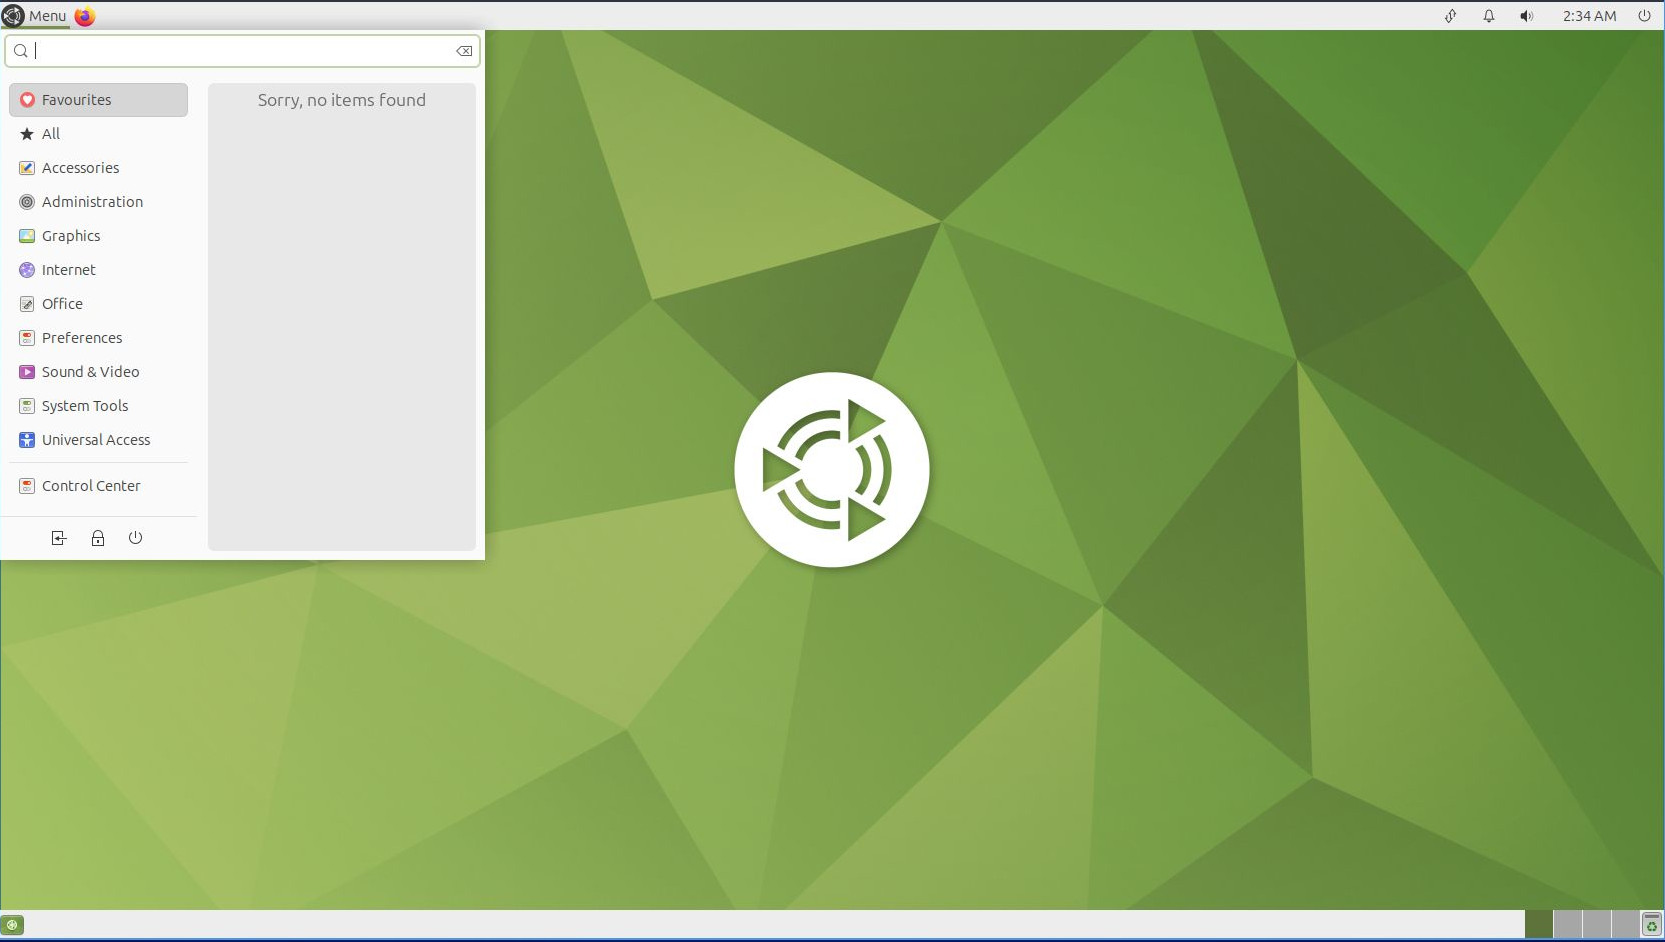 Ubuntu MATE |
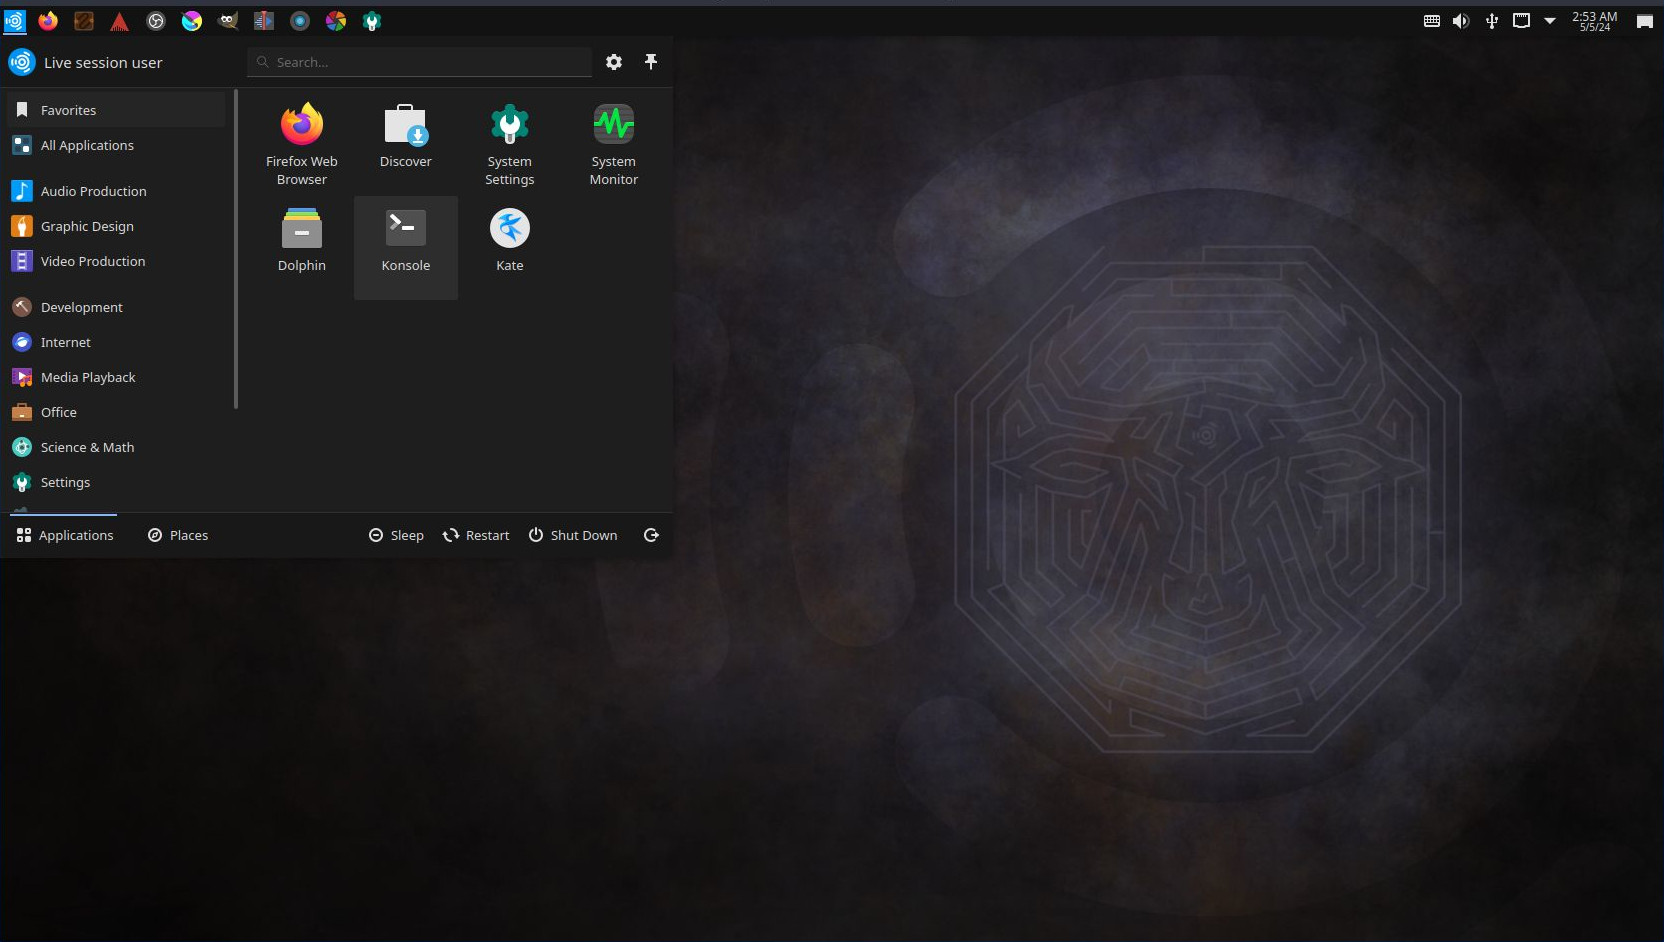 Ubuntu Studio (KDE Plasma) |
 Ubuntu (Gnome) |
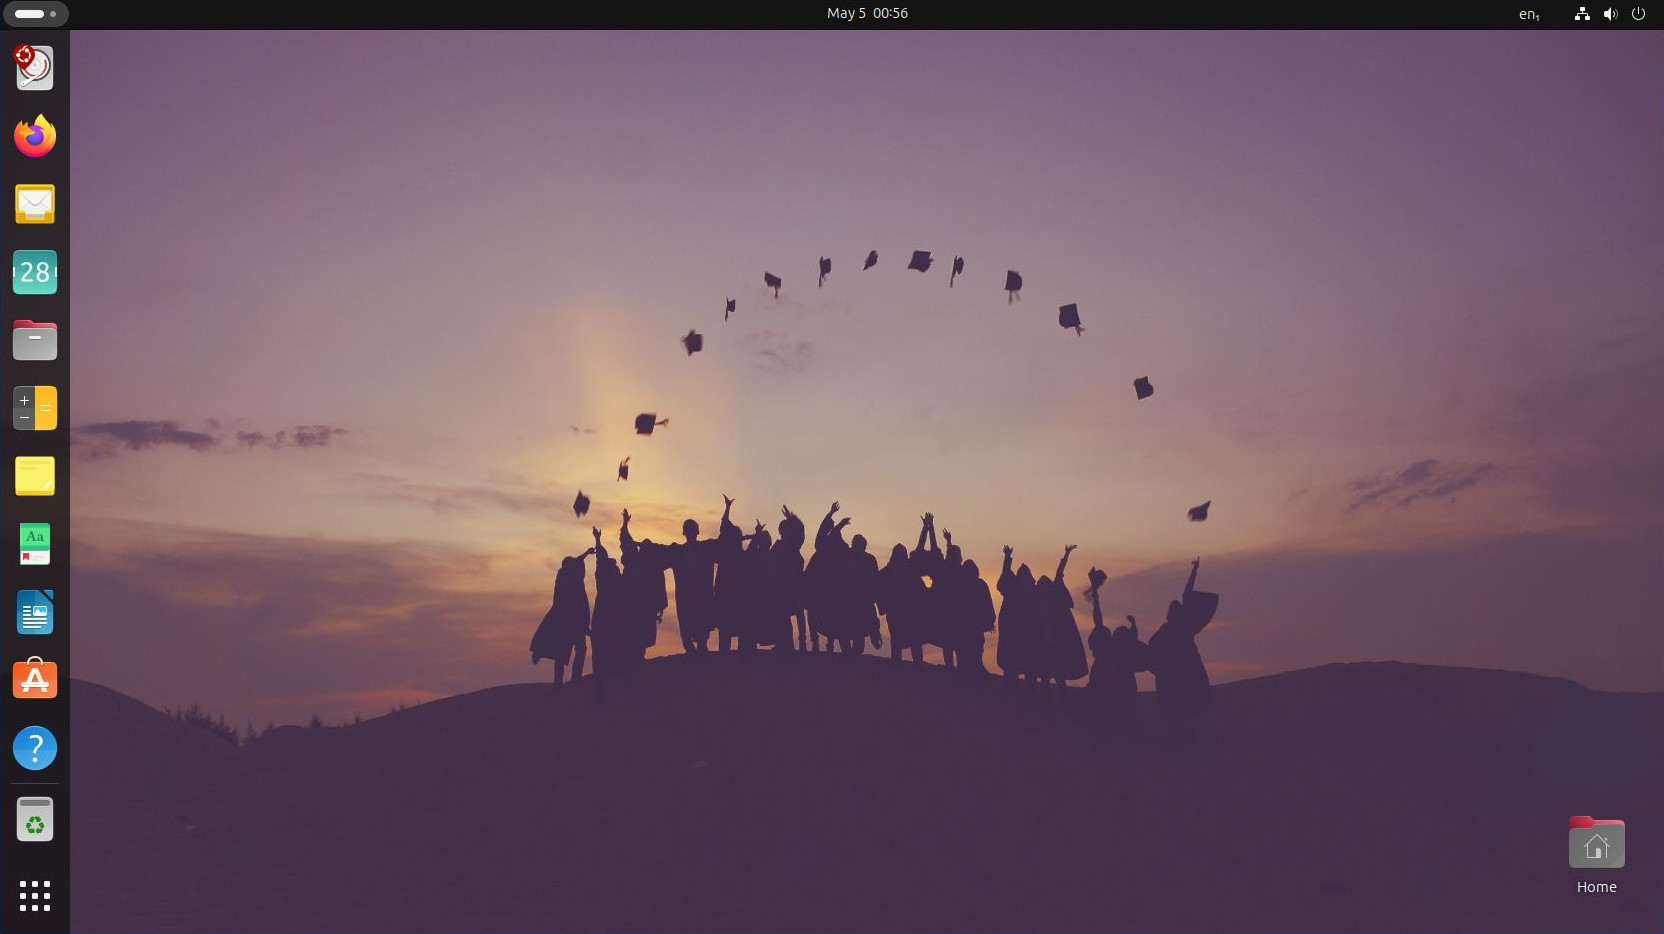
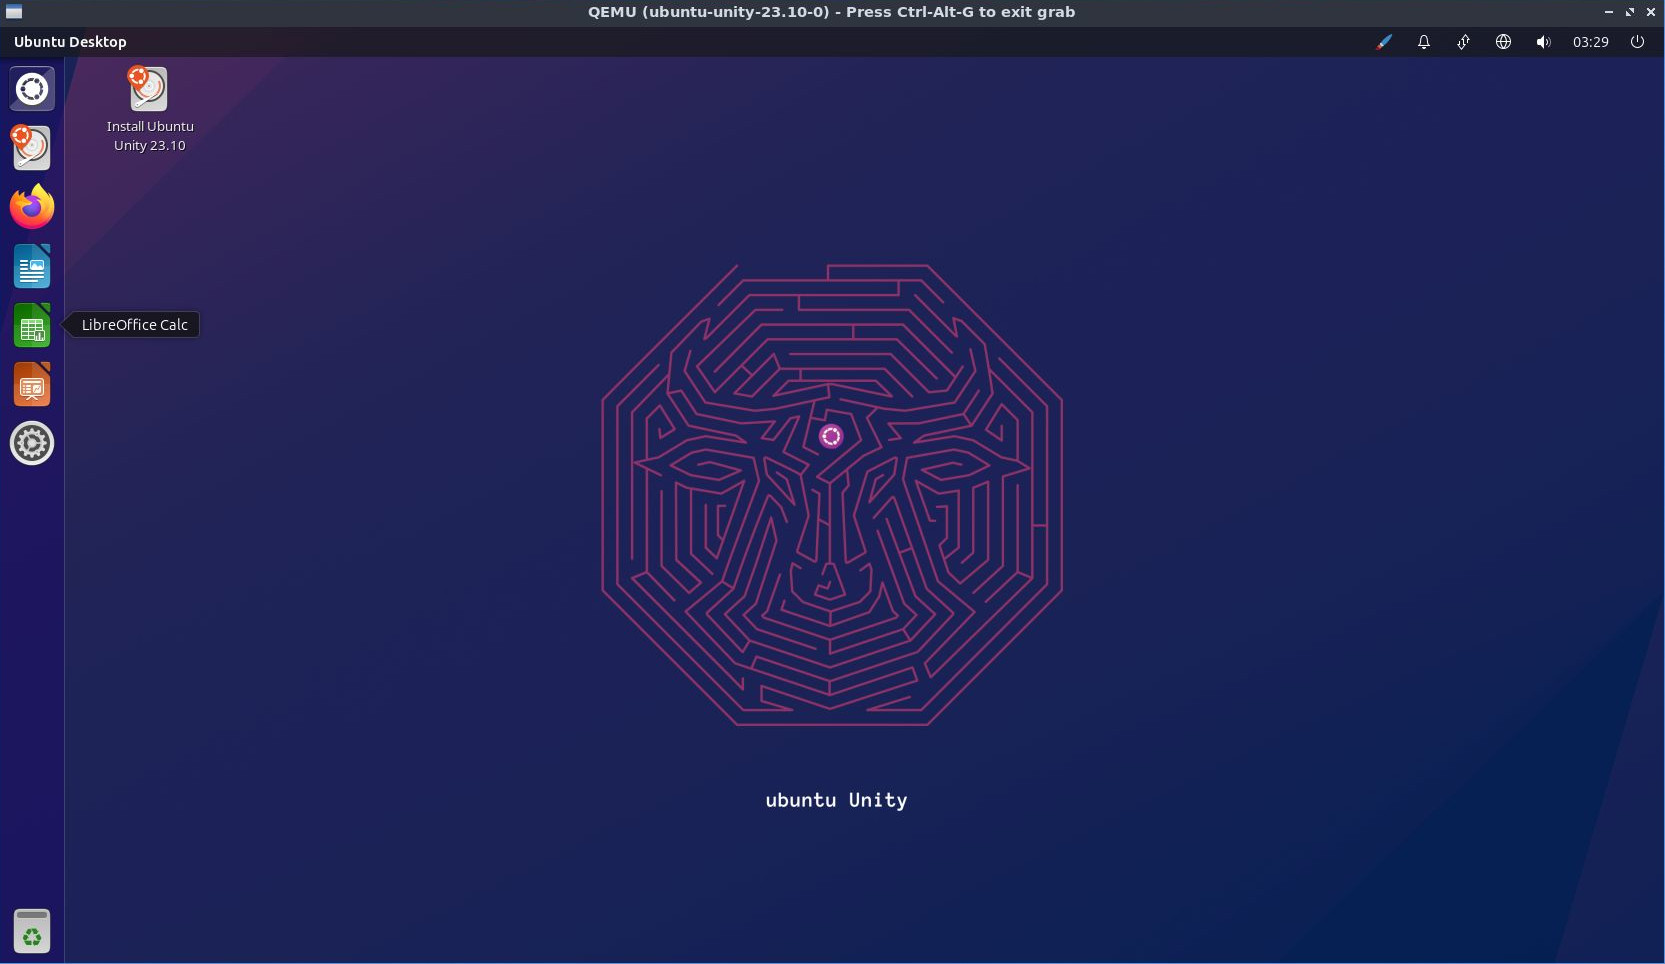 Ubuntu Unity |
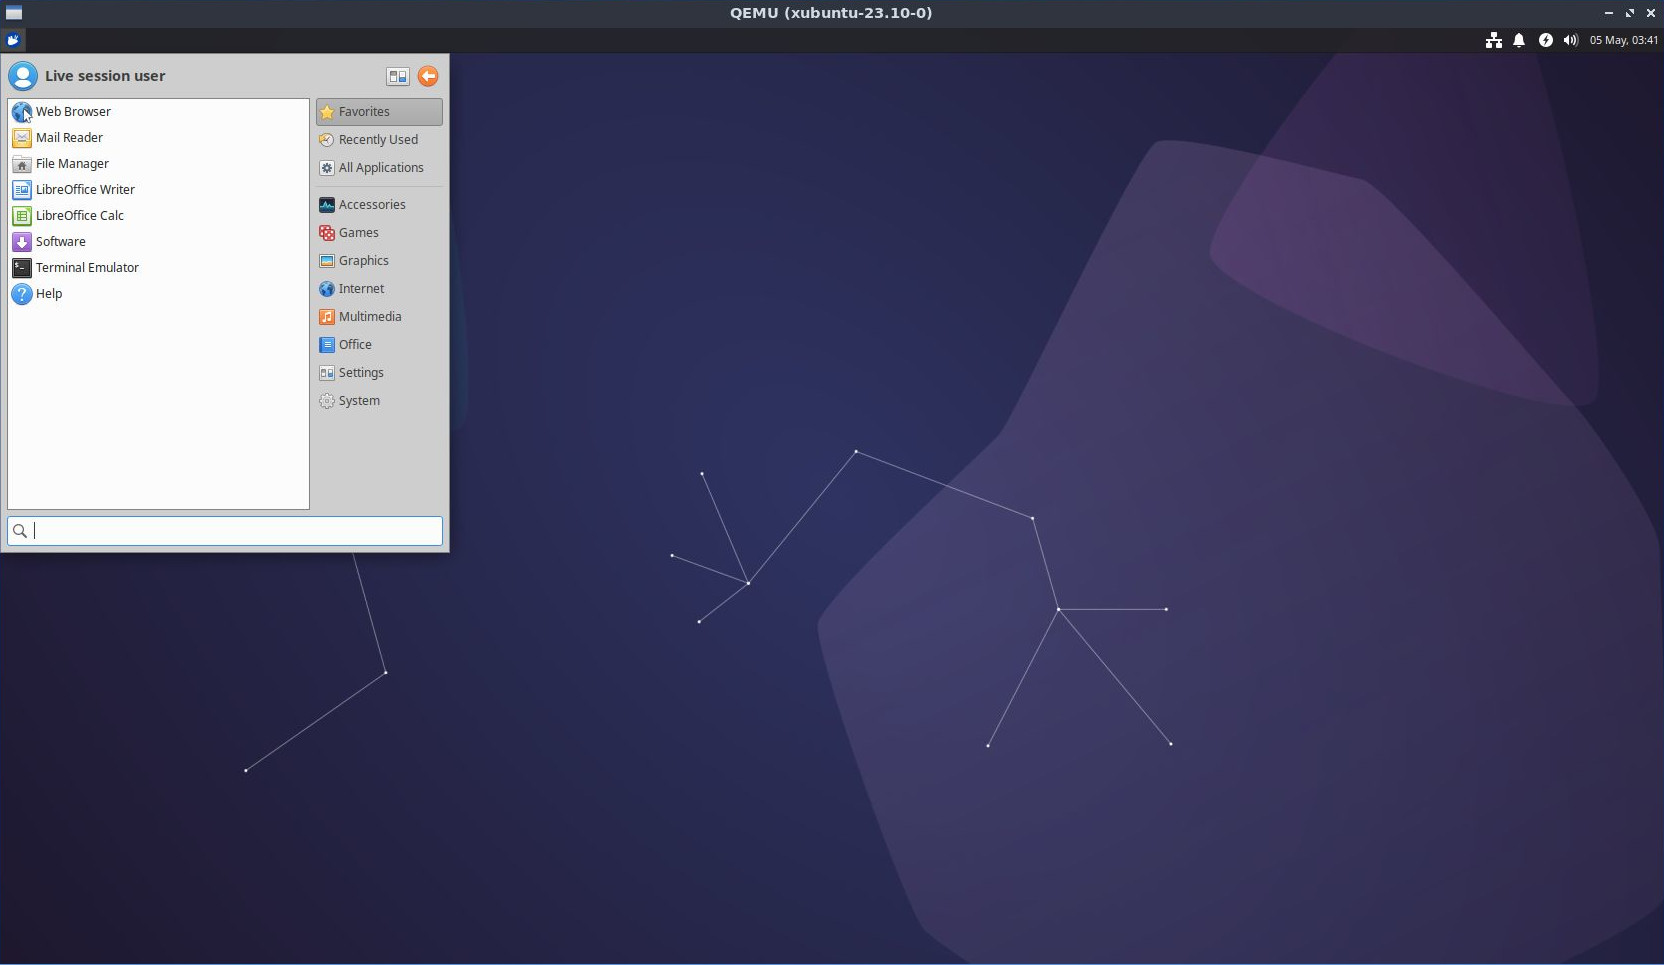 Ubuntu Xubuntu (Xfce) |
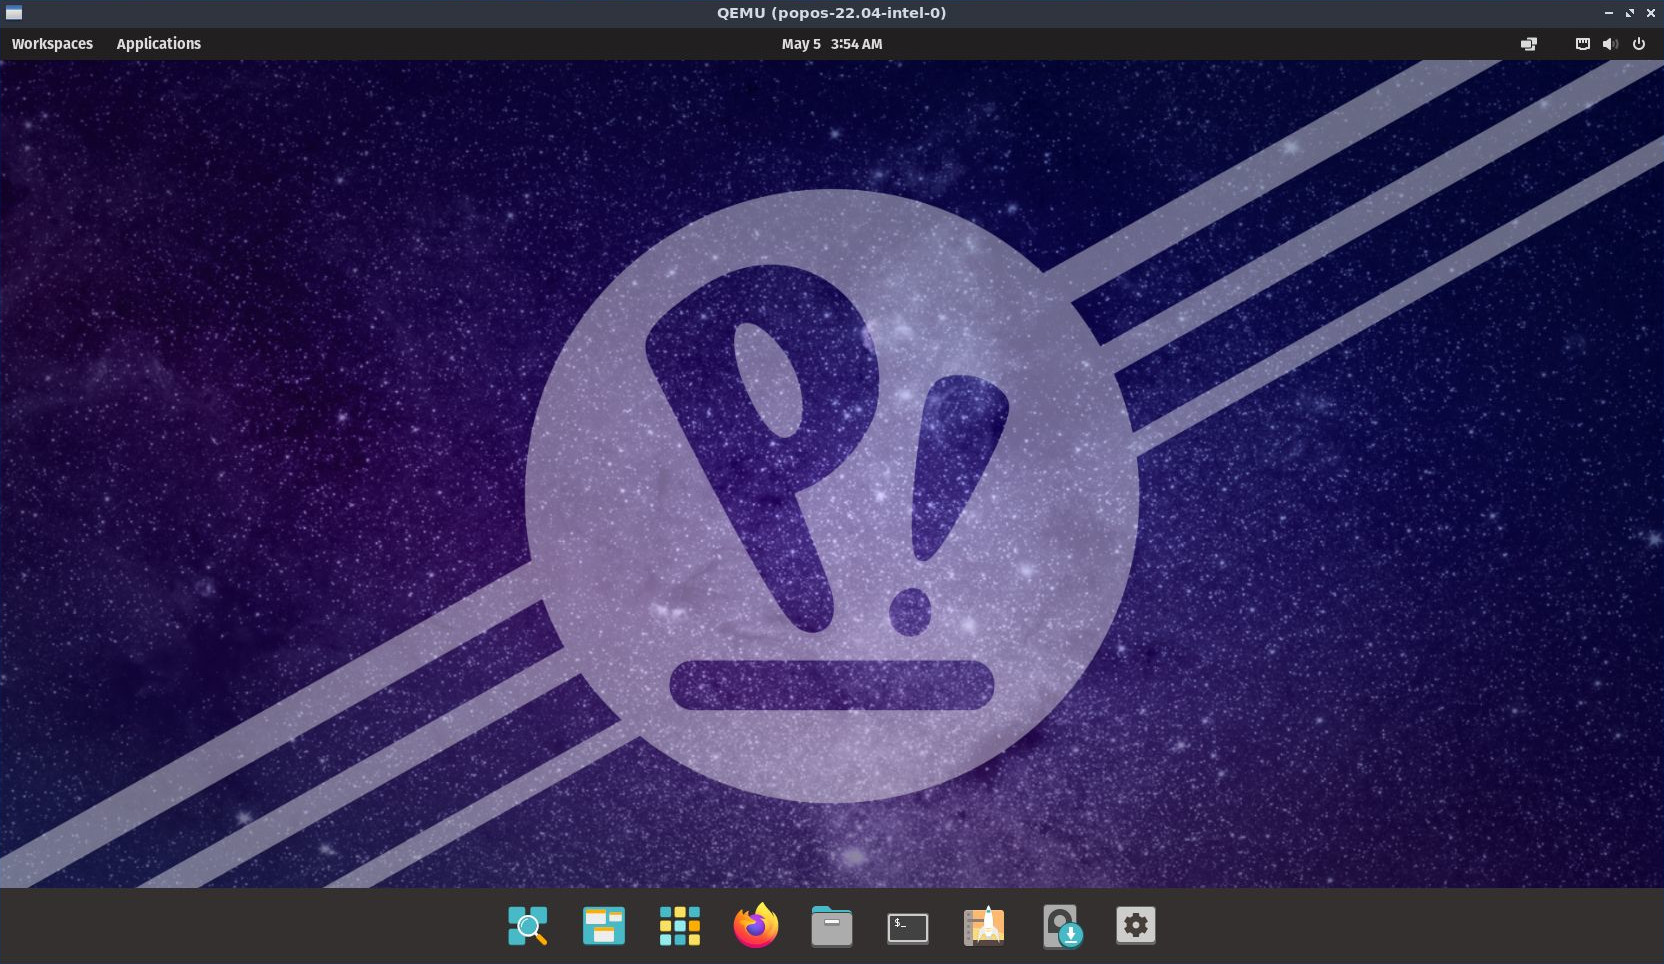 Pop_!OS (Gnome, modified) |
Installation
Note: the following commands assume that Ubuntu or Debian have been installed
on a base OS.
Budgie
1. Execute as root:
# apt update
# apt upgrade
# apt install ubuntu-budgie-desktop
2. At the dialog “Package configuration”, select default display manager: “lightdm”.
3. Reboot and use the log-in screen to select Budgie.
4. Done
Cinnamon
1. Repeat the above steps, but substitute:
# apt install cinnamon-desktop-environment
2. Done
Gnome
1. Repeat the above steps, but substitute:
# apt install ubuntu-gnome-desktop
2. Done
KDE Plasma
1. Repeat the above steps, but substitute:
# apt install kde-full
or
# apt install kde-standard
or
# apt install kde-plasma-desktop
2. At the dialog “Package configuration”, select default display manager: “sddm”.
3. Done
LXQt
1. Repeat the above steps, but substitute:
# apt install task-lxqt-desktop
# apt install lxqt
2. At the dialog “Package configuration”, select default display manager: “sddm”.
3. Done
MATE
1. Repeat the above steps, but substitute:
# apt install mate-desktop-environment
or
# apt install mate-desktop-environment-extras
2. At the dialog “Package configuration”, select default display manager: “lightdm”.
3. Done
Unity
1. Repeat the above steps, but substitute:
# apt install ubuntu-unity-desktop
2. At the dialog “Package configuration”, select default display manager: “lightdm”.
3. Done
Xfce
1. Repeat the above steps, but substitute:
# apt install xfce4
# apt install xfce4-goodies
2. At the dialog “Package configuration”, select default display manager: “lightdm”.
3. Done
top of page