Table of Contents
1. Partition Hard Drive using GParted
2. Ubuntu Installation
3. Ubuntu Configuration
4. VirtualBox
5. Quickemu
6. Desktop Environments (DEs)
7. Linux Links
Linux Virtual Box Installation
Definition
VM: Virtual Machine
VB: Virtualbox
Overview:
In this exercise, we shall install Virtualbox. Then we shall install Windows
Home Premium 11. Usually I never run Windows on a native host machine. Rather,
I run it as a VM. If I were to buy a new laptop, I make sure that I obtain the
product key. In lieu of this, many Lenovo laptops have the Product Key embedded
in the BIOS. You can install Windows, and the Product Key will be activated
automaticallly, even within a VM. Then, I repartition the hard drive and remove
the hidden restore partition to make for extra room. If my Windows VM obtains a
computer virus, it usually does not effect the Linux host machine. I just delete
and reinstall the Windows VM.
If you wish to obtain a Product Key before you lose your Windows OS, while
Windows is still running, from a terminal execute:
> wmic path SoftwareLicensingService get OA3xOriginalProductKey
Output:
XXXXX-XXXXX-XXXXX-XXXXX-XXXXX
Install Virtual Box
1. Install Virtualbox: in a terminal execute:
apt install -y virtualbox
apt install -y virtualbox-dkms
apt install -y virtualbox-ext-pack
apt install -y virtualbox-guest-additions-iso
apt install -y virtualbox-guest-dkms
apt install -y virtualbox-guest-utils
apt install -y virtualbox-guest-x11
apt install -y virtualbox-qt
2. Download Windows from the Microsoft web page. Go to URL
https://www.microsoft.com/en-us/software-download
Scroll down to 'Download Windows 11 Disk Image (ISO)'. In the pulldown
menu, pick 'Windows 11 (multi-edition ISO)'. Click the blue 'Download'
button. Select 'English' and '64-bit Download'. Download the file:
Win11_English_x64v1.iso
Make note of the iso file's location on the host hard drive. You can use
Brasero to burn the iso file to a CD-ROM disc; however, it is equally facile
to install directly from the iso file.
3. Add users to vboxusers group:
# usermod -a -G vboxusers <username>
# cat /etc/group | grep vboxusers
Output:
vboxusers:×:136:<username>
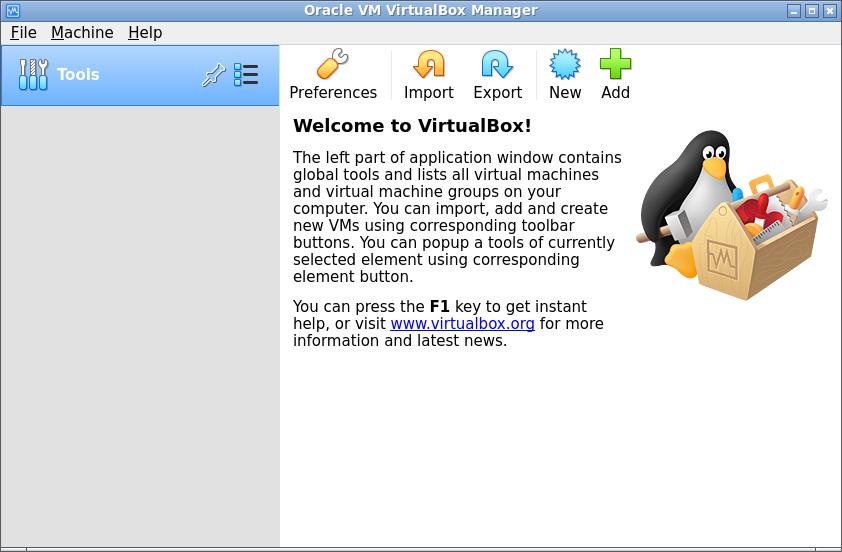
4. Launch Virtualbox:
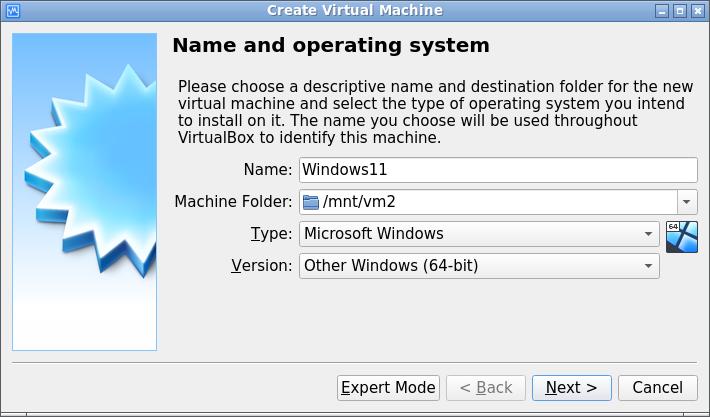
4. Click the 'New' button and use the following parameters:
| Name: | Winhows11 |
|---|---|
| Machine Folder: | /mnt/vm2 |
| Type: | Microsoft Windows |
| Version: | Other Windows (64-bit) |
Note: You can use the pull down option to locate an alternate location
for the VM folder. I chose 'Other Windows (64-bit)' because my version of
VB does not have version 11. An alternative is to download the latest version
of VB at https://www.virtualbox.org/wiki/Downloads.
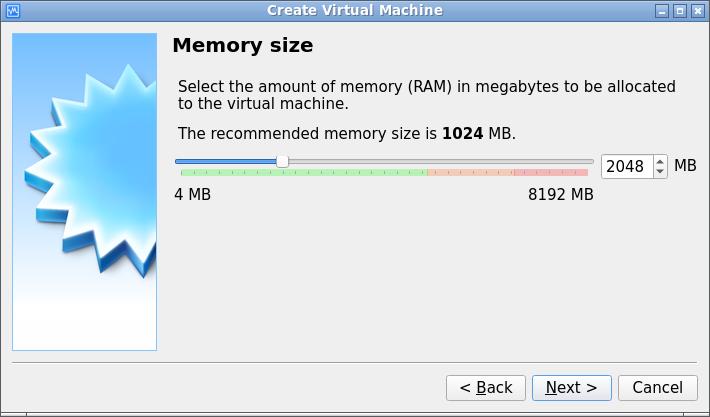
5. Memory size: pick a value of either 2048 or 4096 MB:
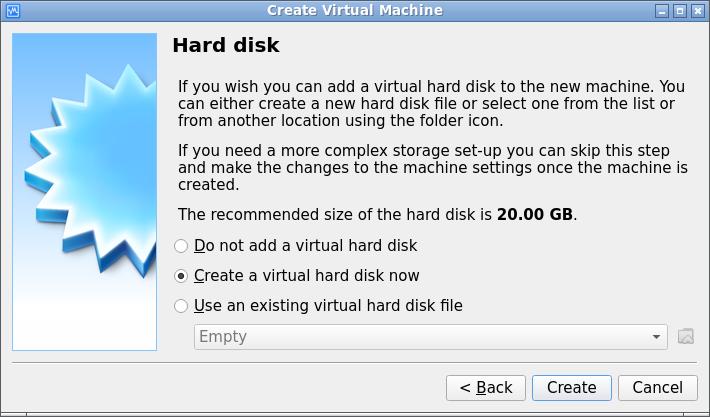
6. Hard disk: accept the default value:
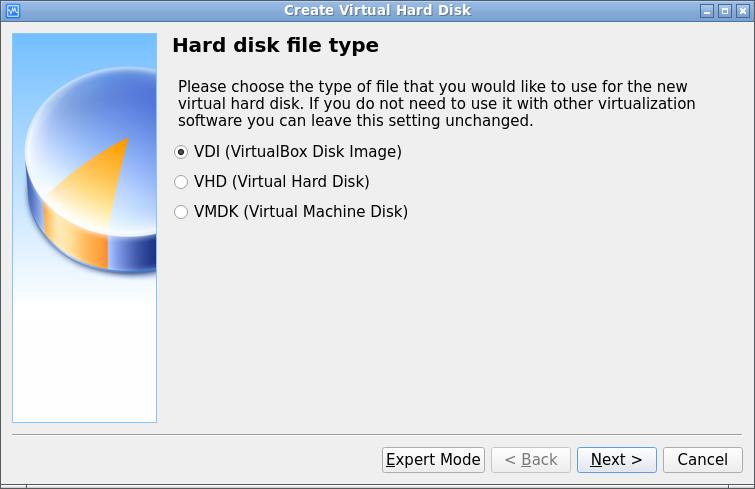
7. Hard disk file type: accept the default value, 'VDI (Virtualbox Disk
Image)':
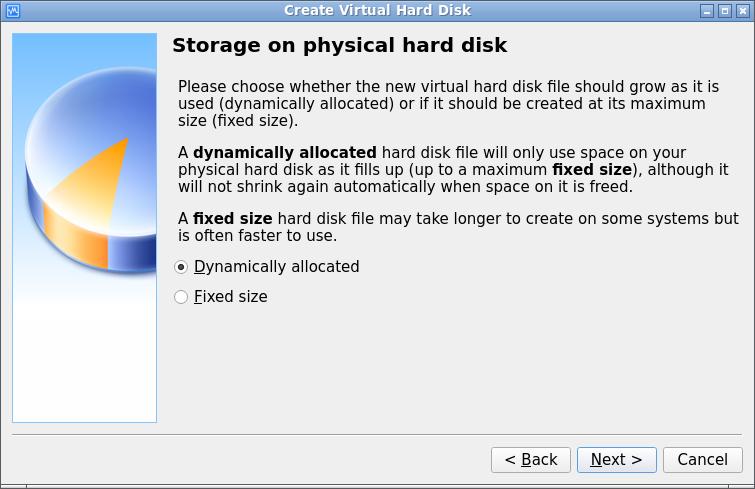
8. Storage on physical hard disk: accept the default value, 'Dynamically
allocated':
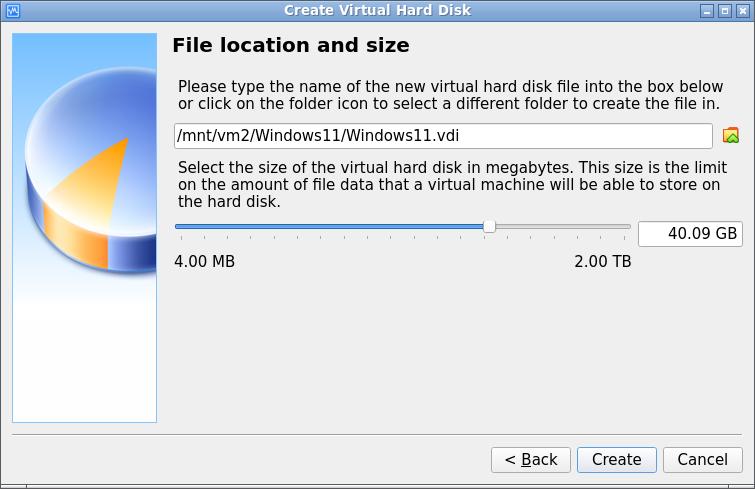
9. File location and size: use the slide bar and choose a value usually
twice the recommended value, since Windows tends to be a gorilla for a
footprint:
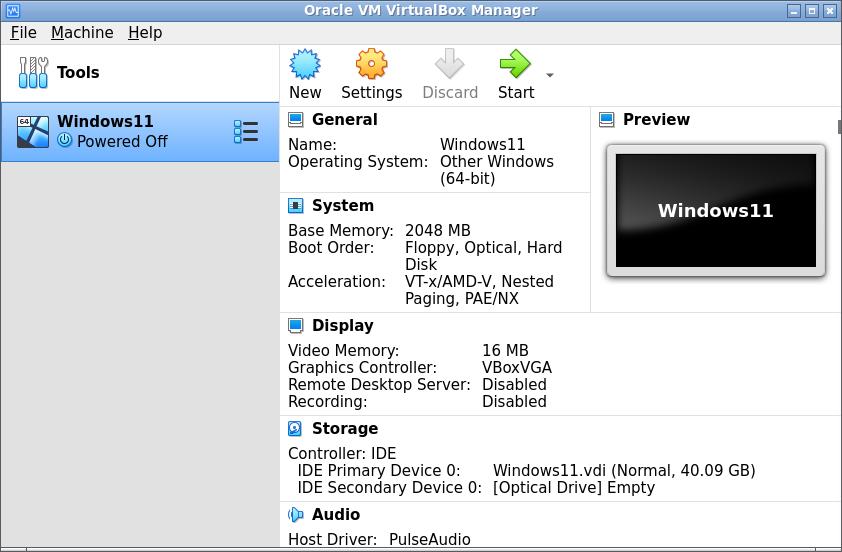
10. The 'Oracle VM VirtualBox Manager' returns with 'Windows11' listed:
11. Click on 'Settings | General | Advanced' tab. Select 'Bidirectional'
for 'Shared Clipboard' and 'Drag'n'Drop' headings:

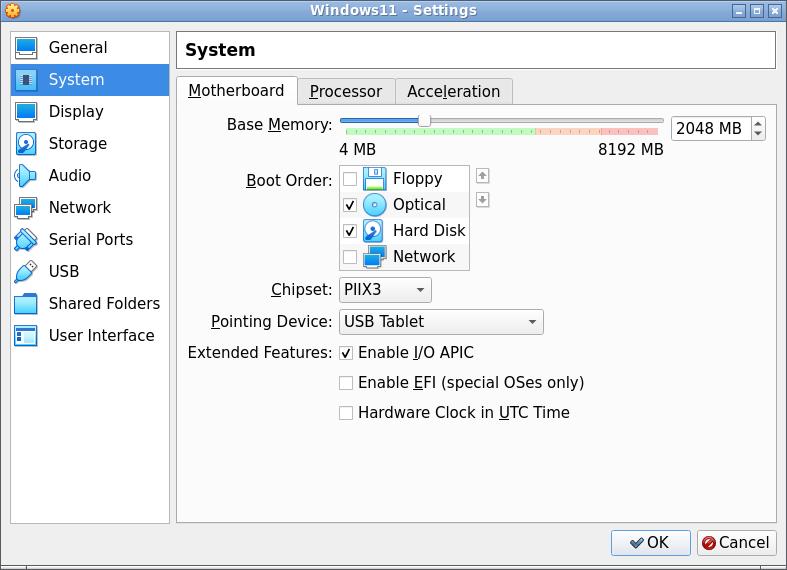
12. Click on 'System | Motherboard' tab. Select the following:
[ ] Floppy
[√] Optical
[√] Hard Disk
[√] Network
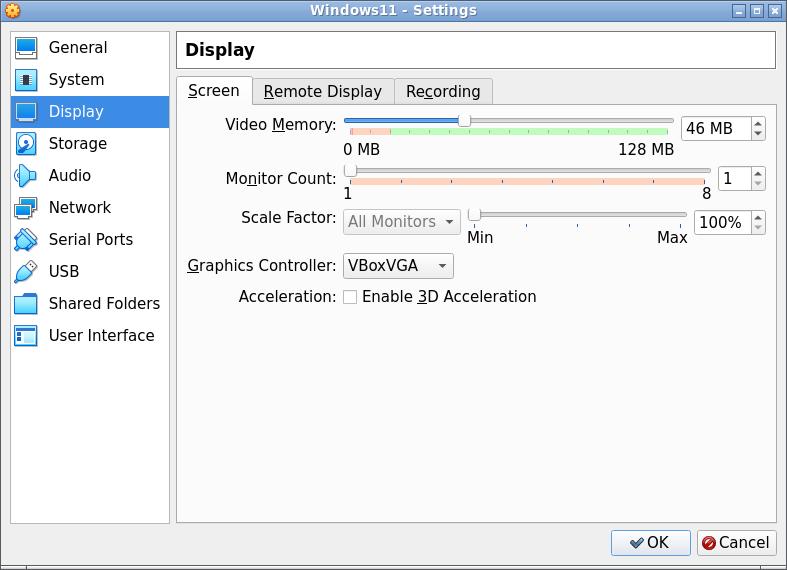
13. Click on 'Display | Screen' tab. Use the slider and pick a value that
is about 1/3 of the available space:
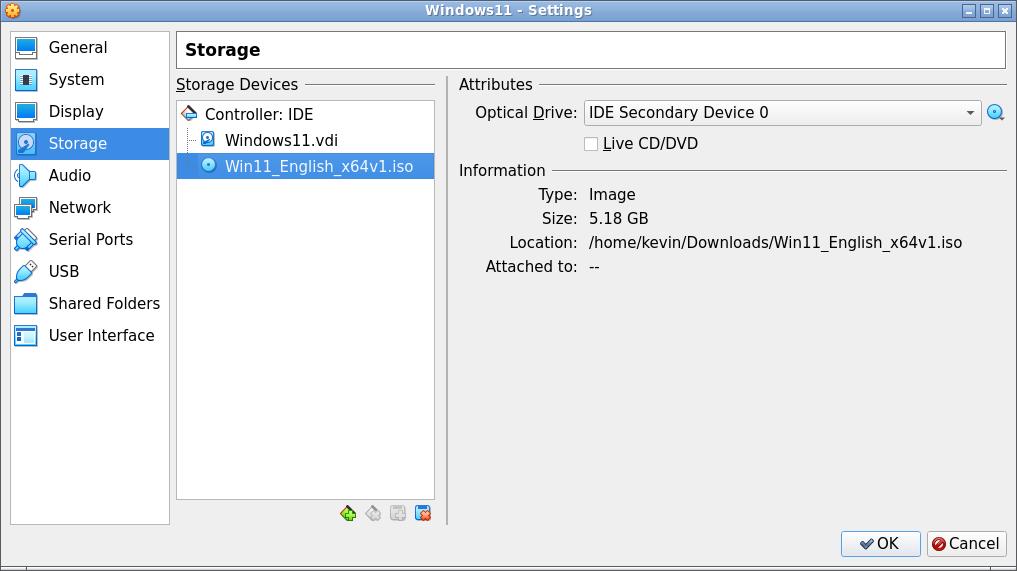
14. Click on 'Storage'. Click on the 'Empty' disc icon. Find 'Optical Drive:
IDE Secondary Device 0', and to the right is a pull down arrow. Click
that and select 'Choose a disk file...'. In the file picker, drill to the
location of the iso file. Mine was located at /home/kevin/Downloads:
Win10_21H2_English_x64.iso Win11_English_x64v1.iso
Click the 'Open' button:
15. Click on 'Network | Adapter 1' tab. Select the following settings:
| Attached to: | Bridged Adapter | |
| Name: | enp2s0 wlp3s0 | for wired connection for wi-fi connection |
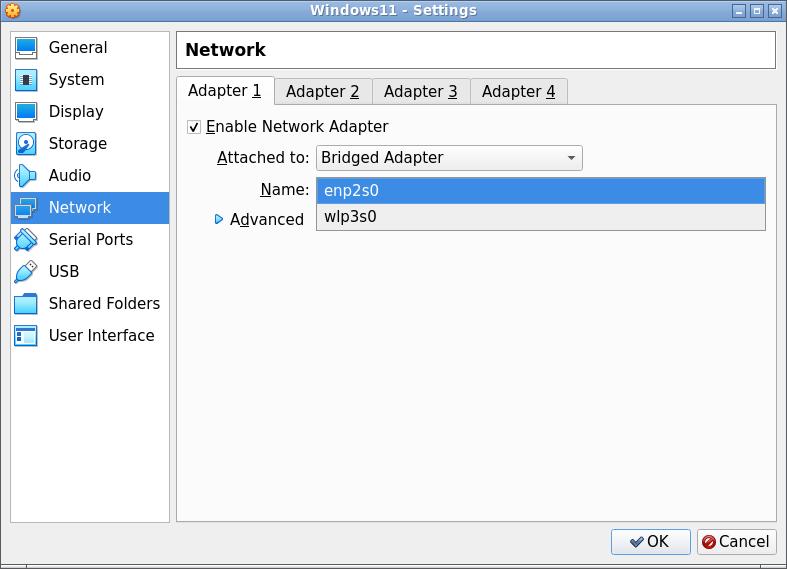
Click 'OK'.
16. Back at the 'Oracle VM VB Manager' dialog, click 'Start':
Click 'Next' and 'Install' now.
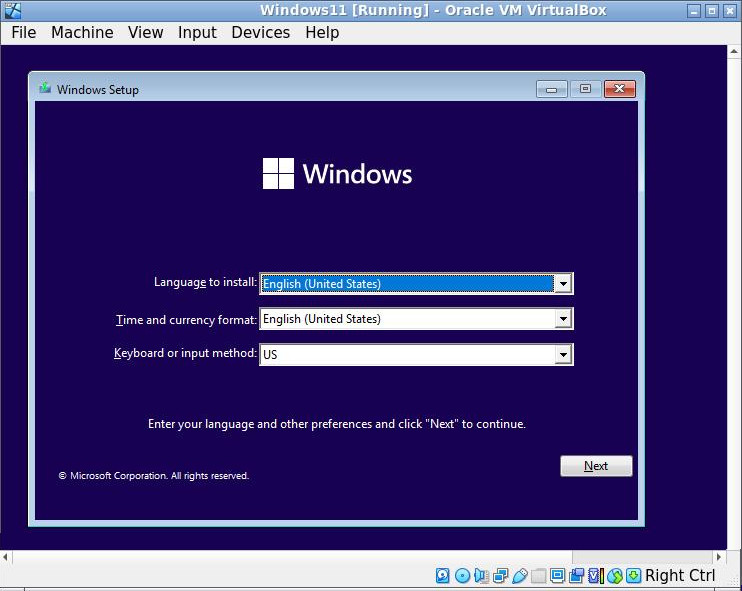
17. Select the version of Windows appropriate for your Product Key. Click
'Next':

18. Follow the usual defaults to install Windows. You should see the
Windows log in screen:
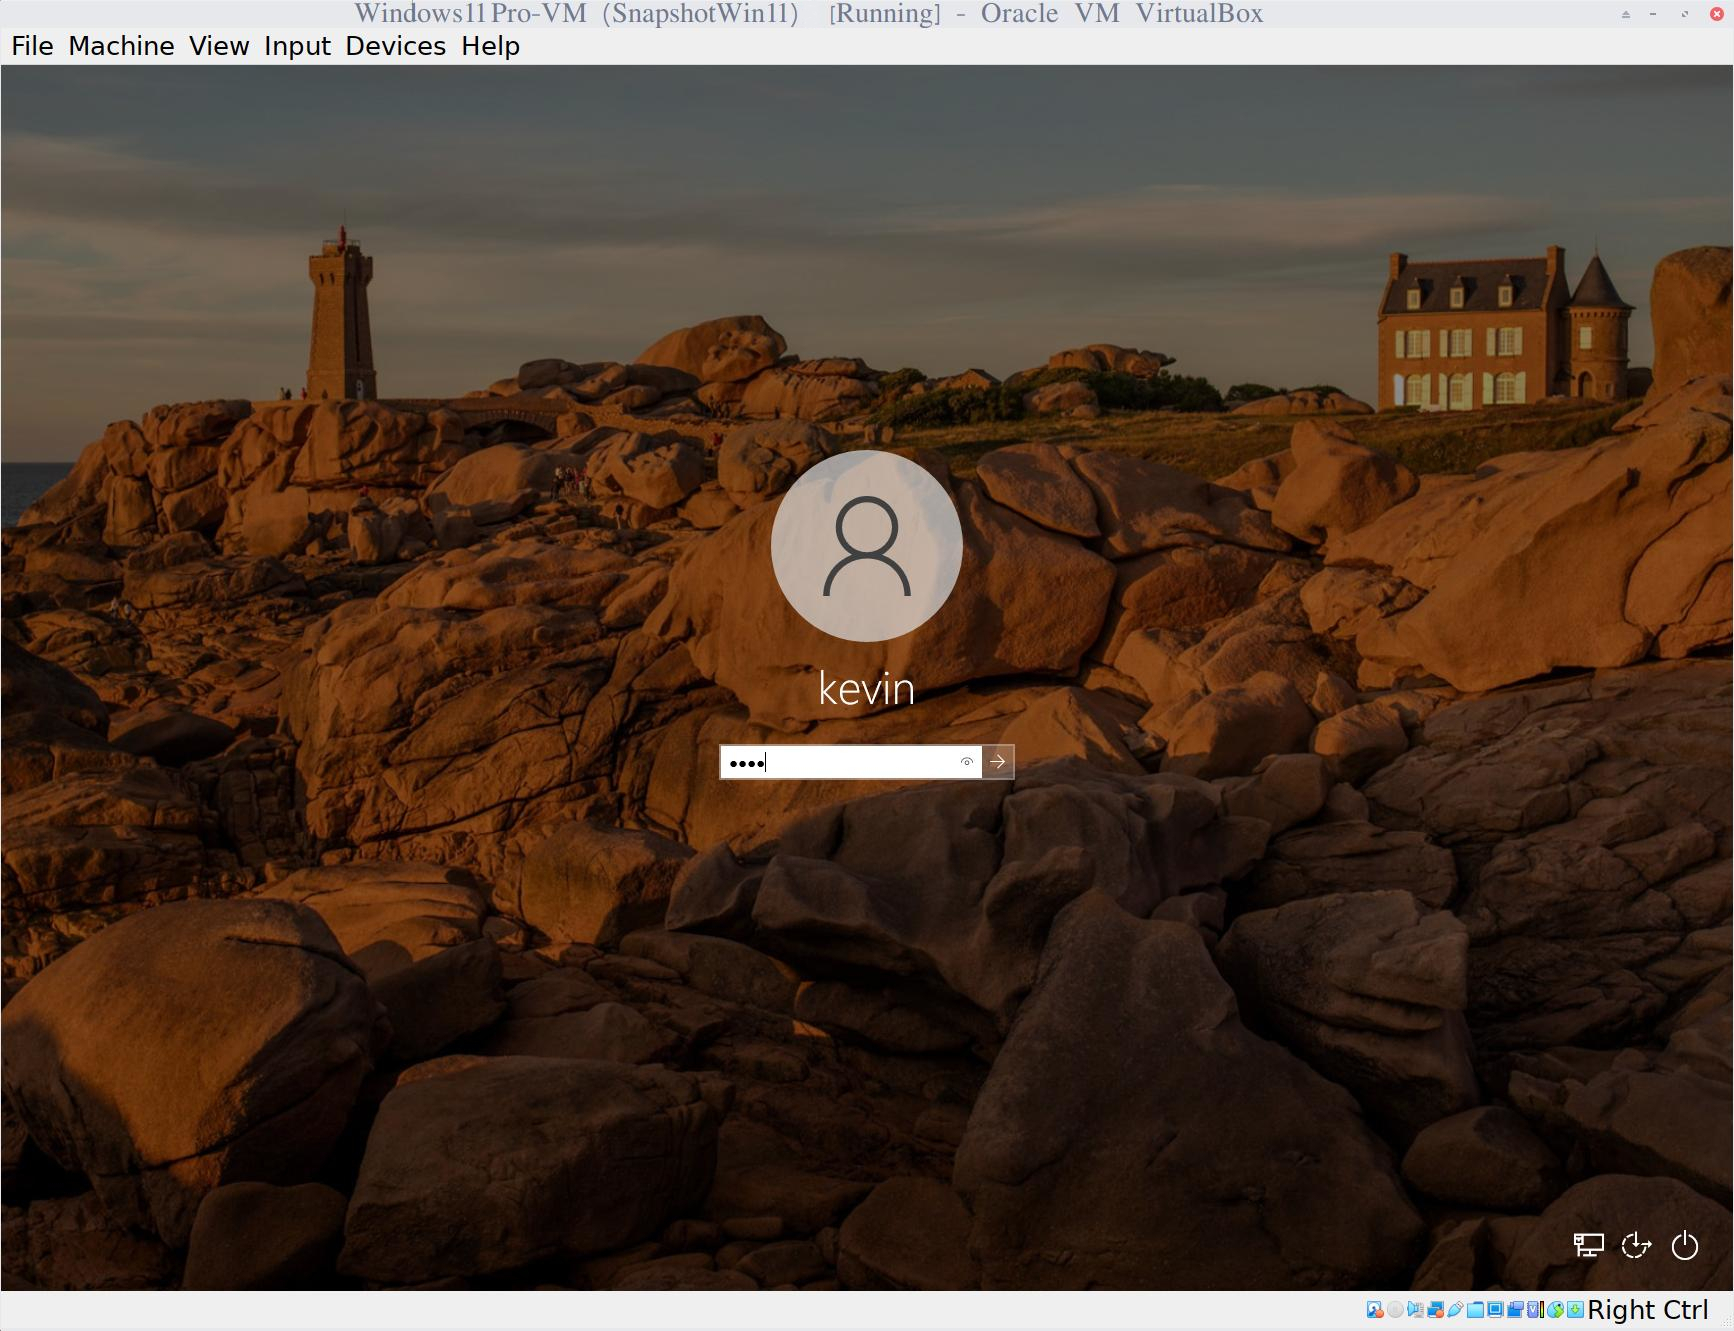
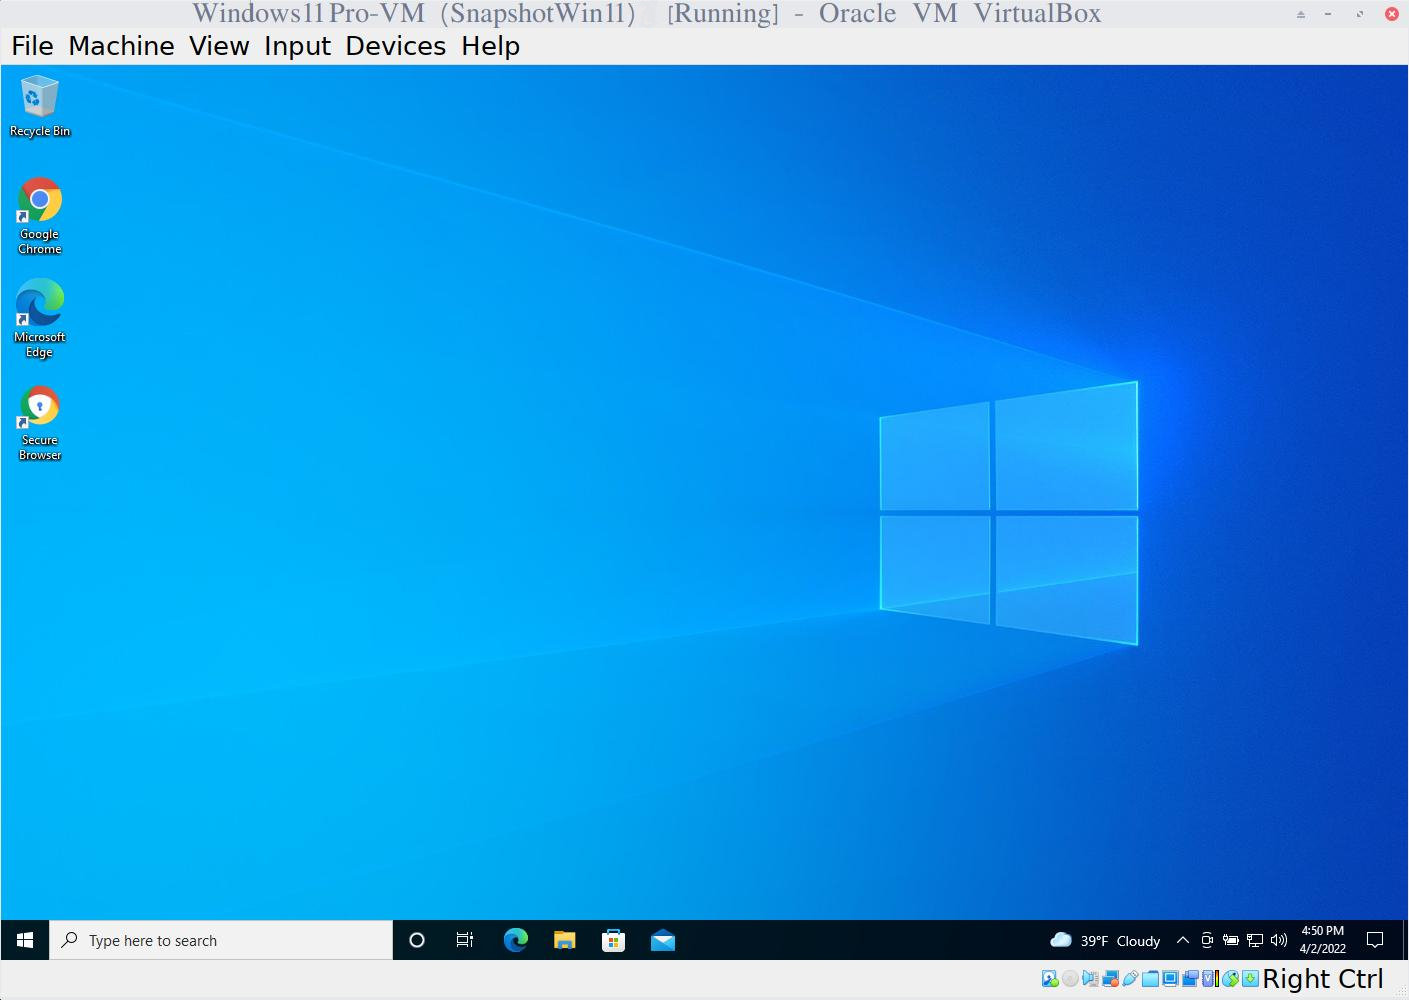
19. After logging in, you should see the main Windows GUI:
Install VB Guest Additions
1. Launch the VM. You can capture the mouse by using the right <Ctrl>
key.
2. From the VB menu, select 'Devices | Insert Guest Additions CD
Image...'. You should see the following dialog:
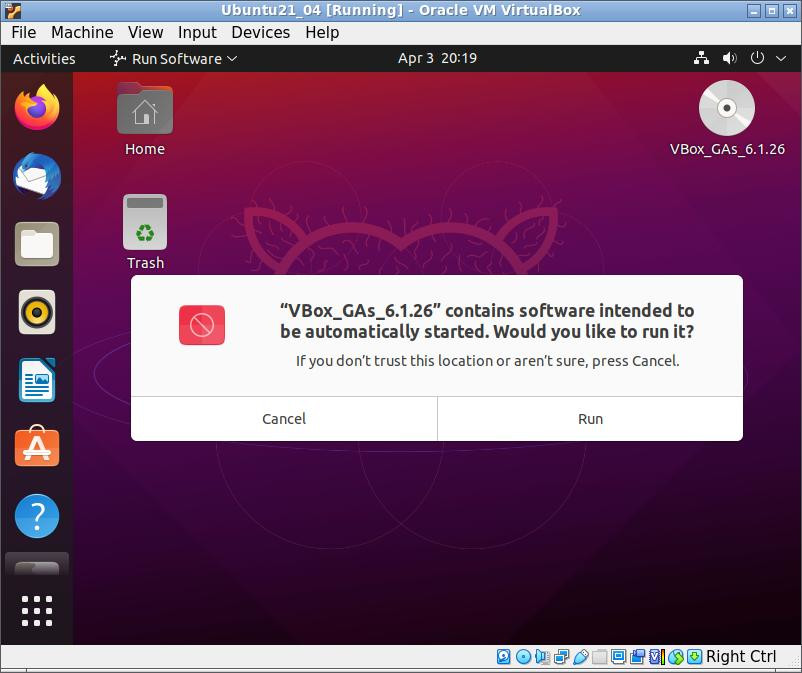
Click on 'Run'.
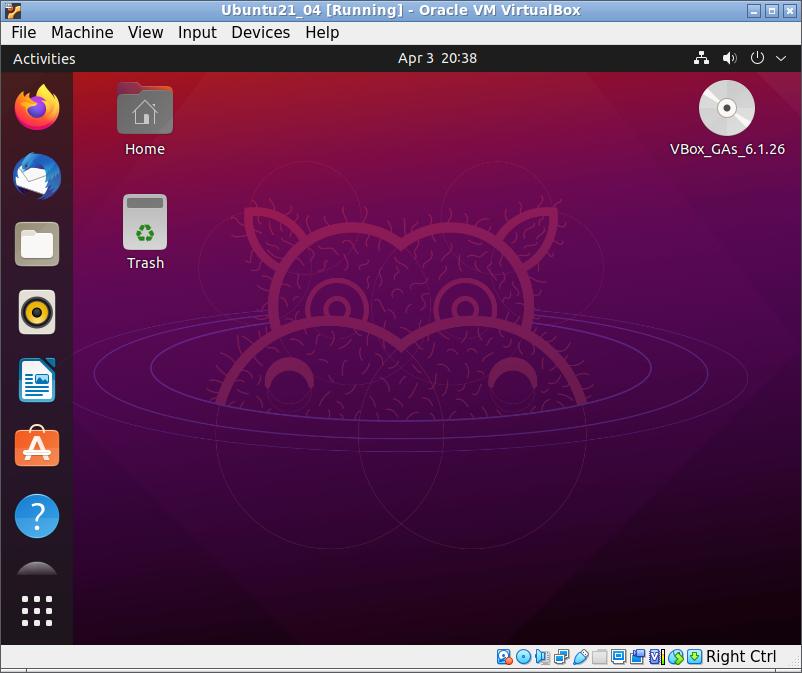
3. The above step actually mounts the disk onto the desktop called '
VBoxGAs_6.1.26'. You can right click and open the disk. You shall see
the following files:
autorun.sh
runasroot.sh
VboxLinuxAdditions.run
VboxWindowsAdditions-amd64.exe
For Linux you can right click 'VboxLinuxAdditions.run' and
for Windows you can right click 'VboxWindowsAdditions-amd64.exe'.
4. Alternatively, from the terminal you can execute:
$ sudo apt install dkms
$ sudo apt install gcc (default)
5. You may need to double click on the 'VBOXADDITIONS_6.1.26...'
icon. Once open, you need to find the proper executable:
In Linux, you can either right click 'VboxLinuxAdditions.run' to run
the executable or execute a command in a terminal. In Windows, you can right click
'VboxWindowsAdditions-amd64.exe' to run the executable or execute a command
in a terminal.
In Linux, in a terminal execute: $ cd
top of page